
Drip Acclimation: How to Acclimate New Fish and Shrimp
Drip acclimation slowly mixes your tank water into the shipping bag or a bucket so temperature, pH, GH, and salinity equalise without shocking livestock. It is especially important for shrimp, snails, wild-caught fish, and anything moving between very different water chemistries.
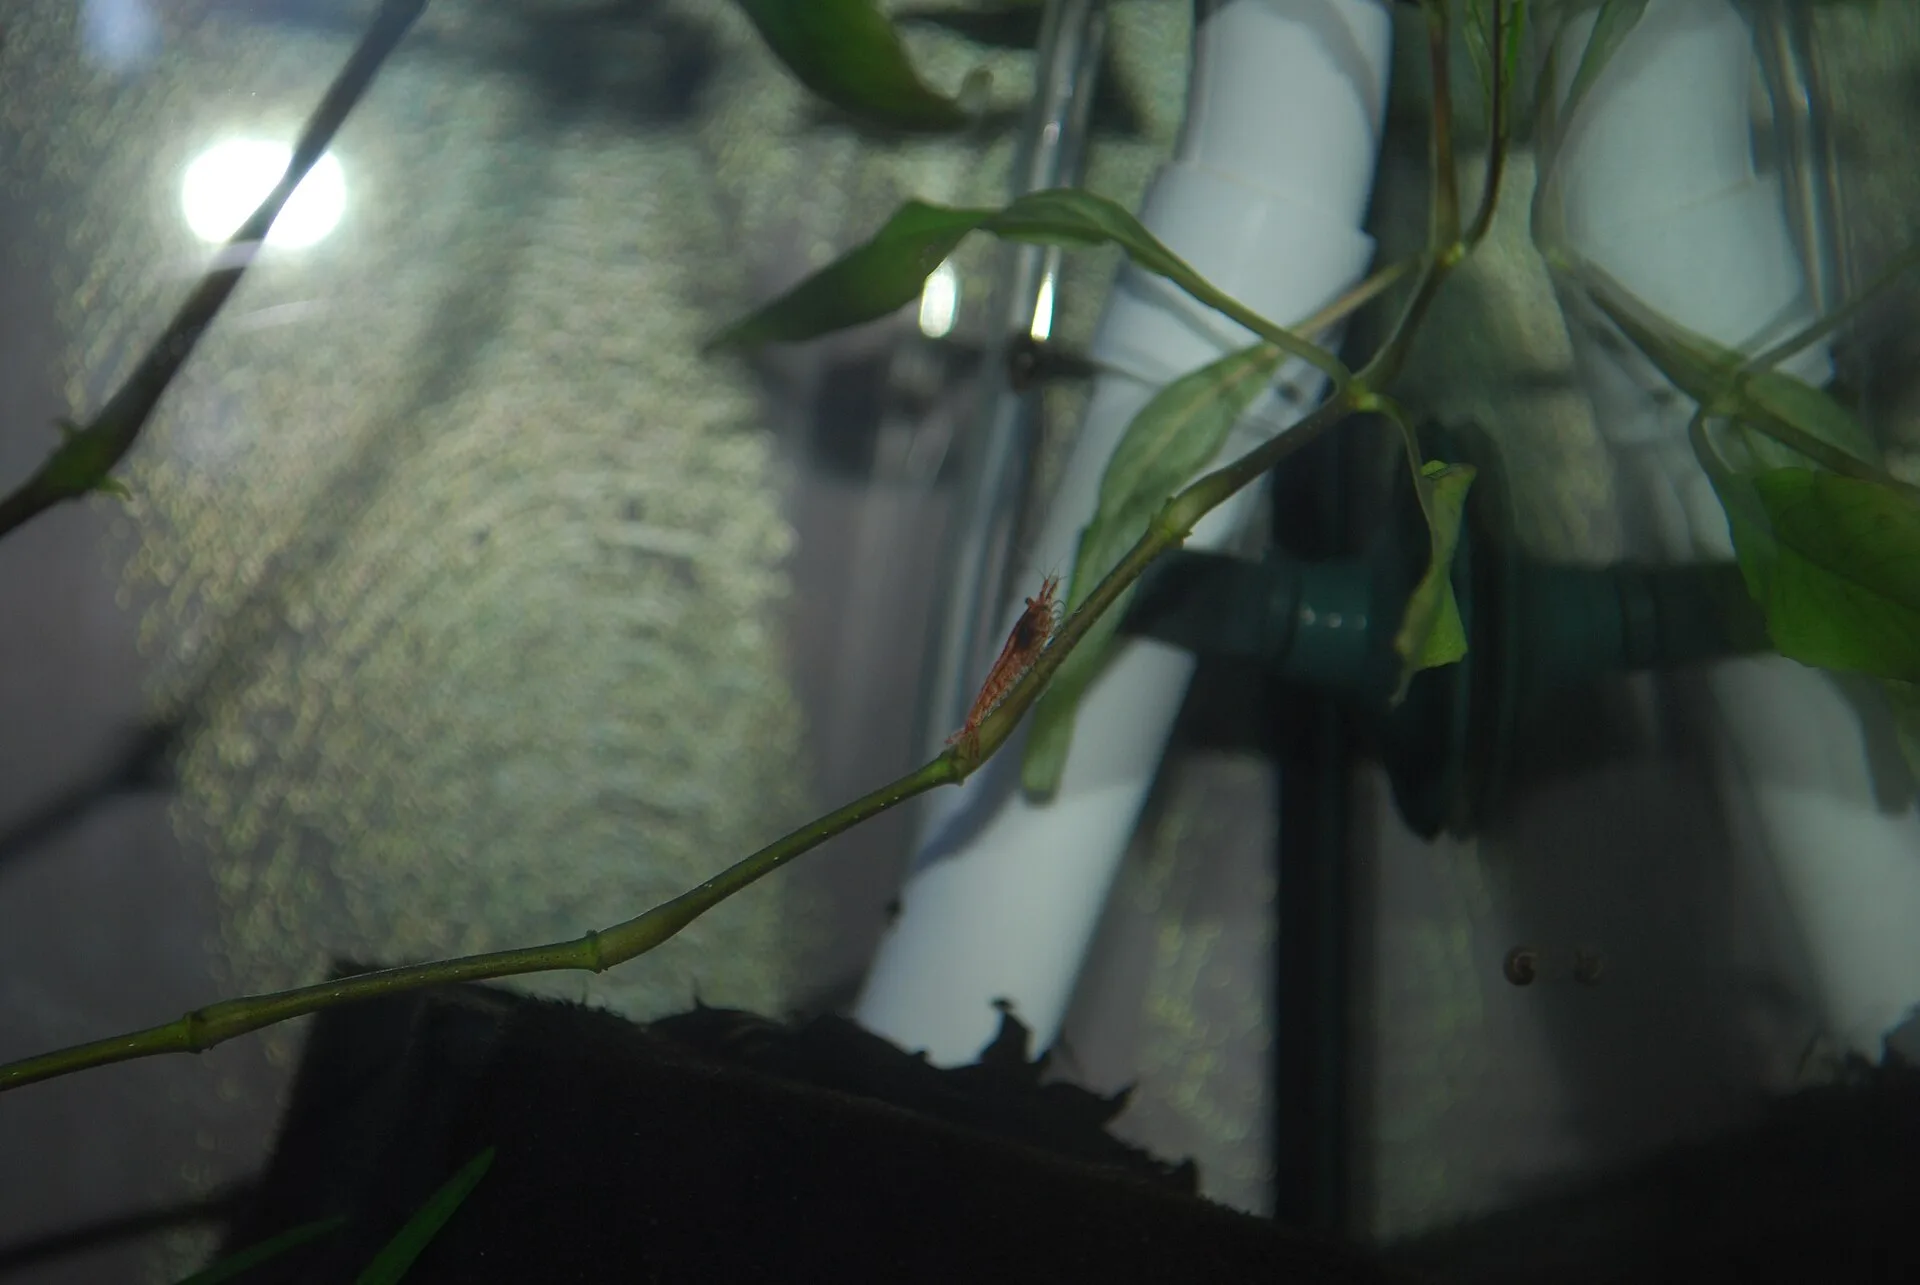
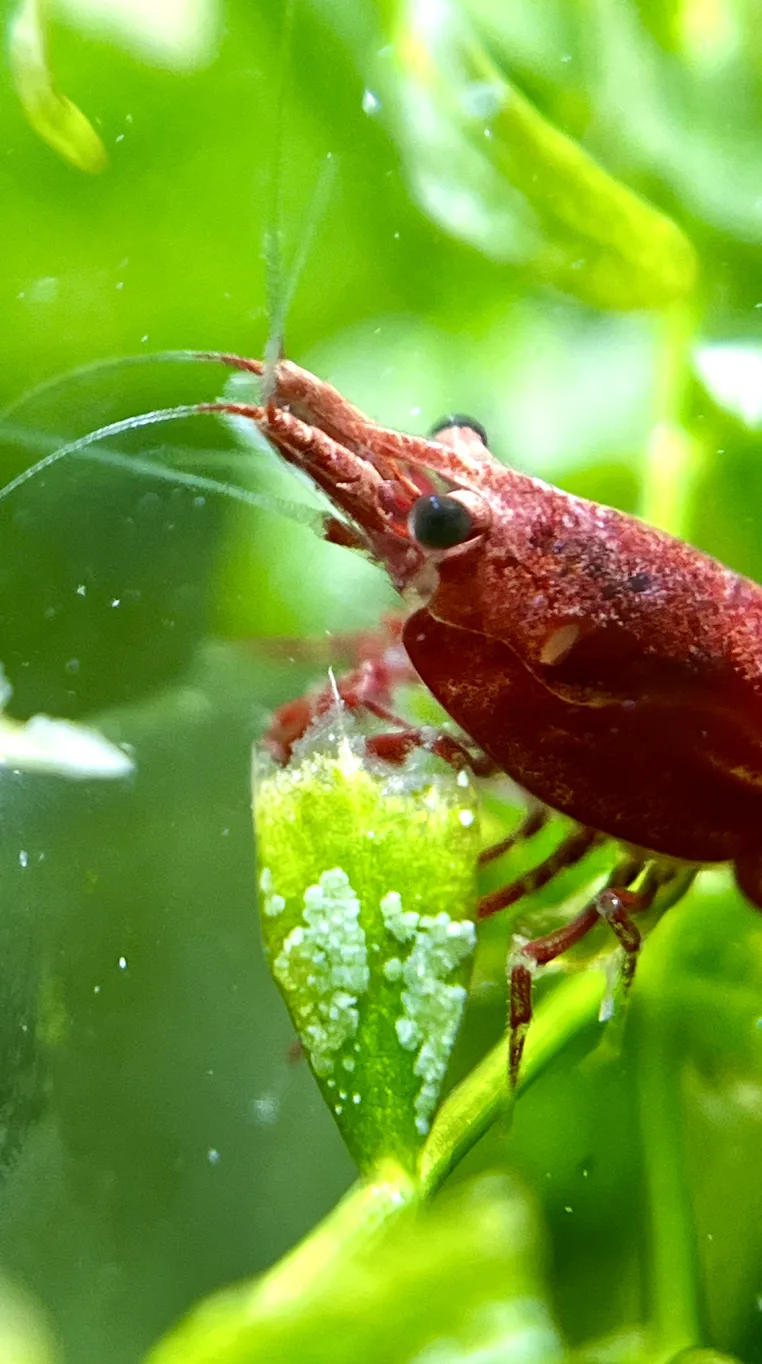
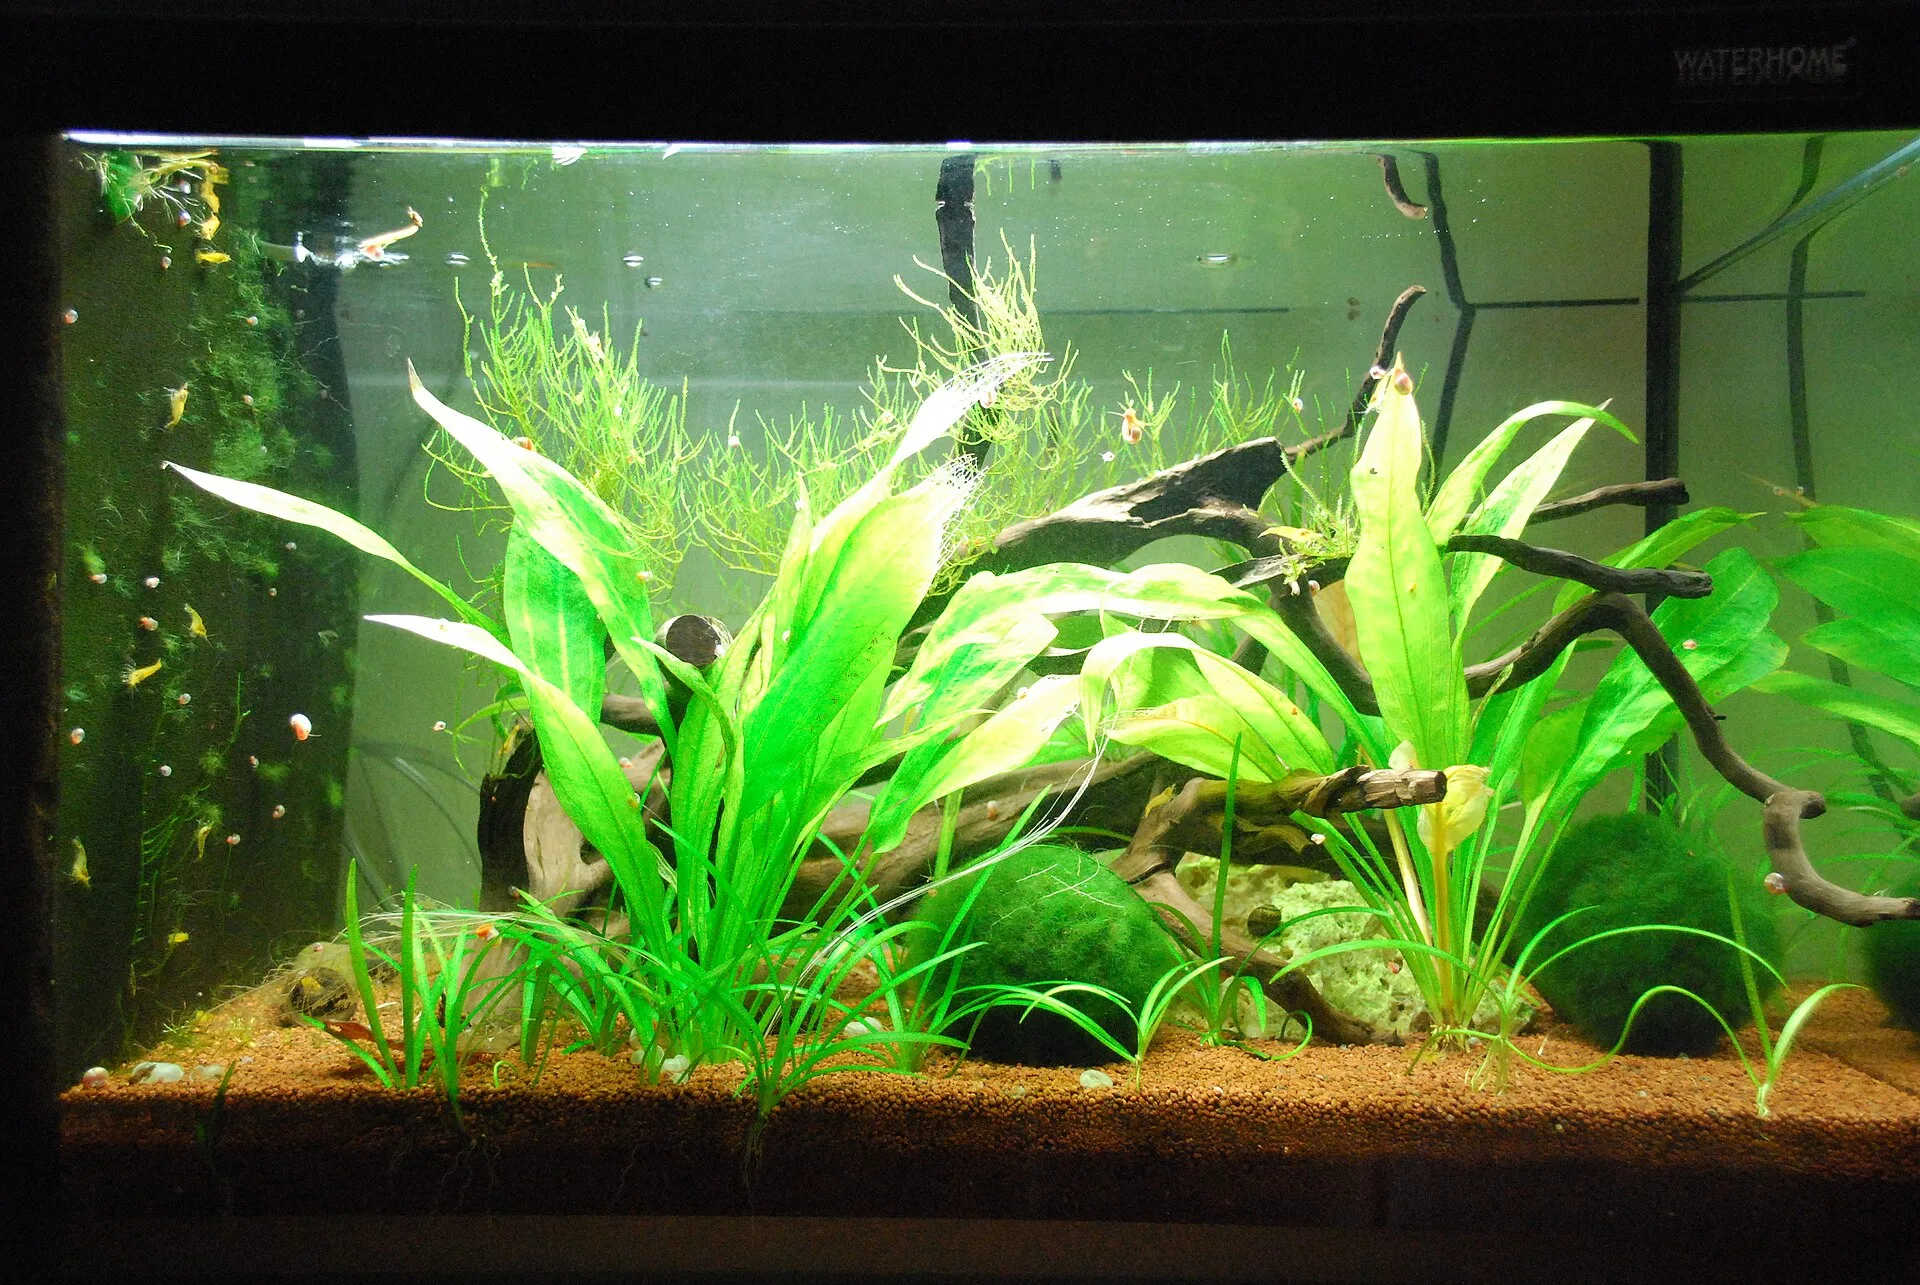 Shrimp and many fish feel parameter swings more than temperature alone. Photo: Michael Skiba / Wikimedia Commons (CC BY-SA 3.0)
When to Drip vs Float
Float the bag for 15–20 minutes when temperature is the main gap and parameters are similar. Drip whenever GH/pH differ, livestock is expensive/sensitive, or you are moving between RO, soft blackwater, hard tap, or reef salinity.
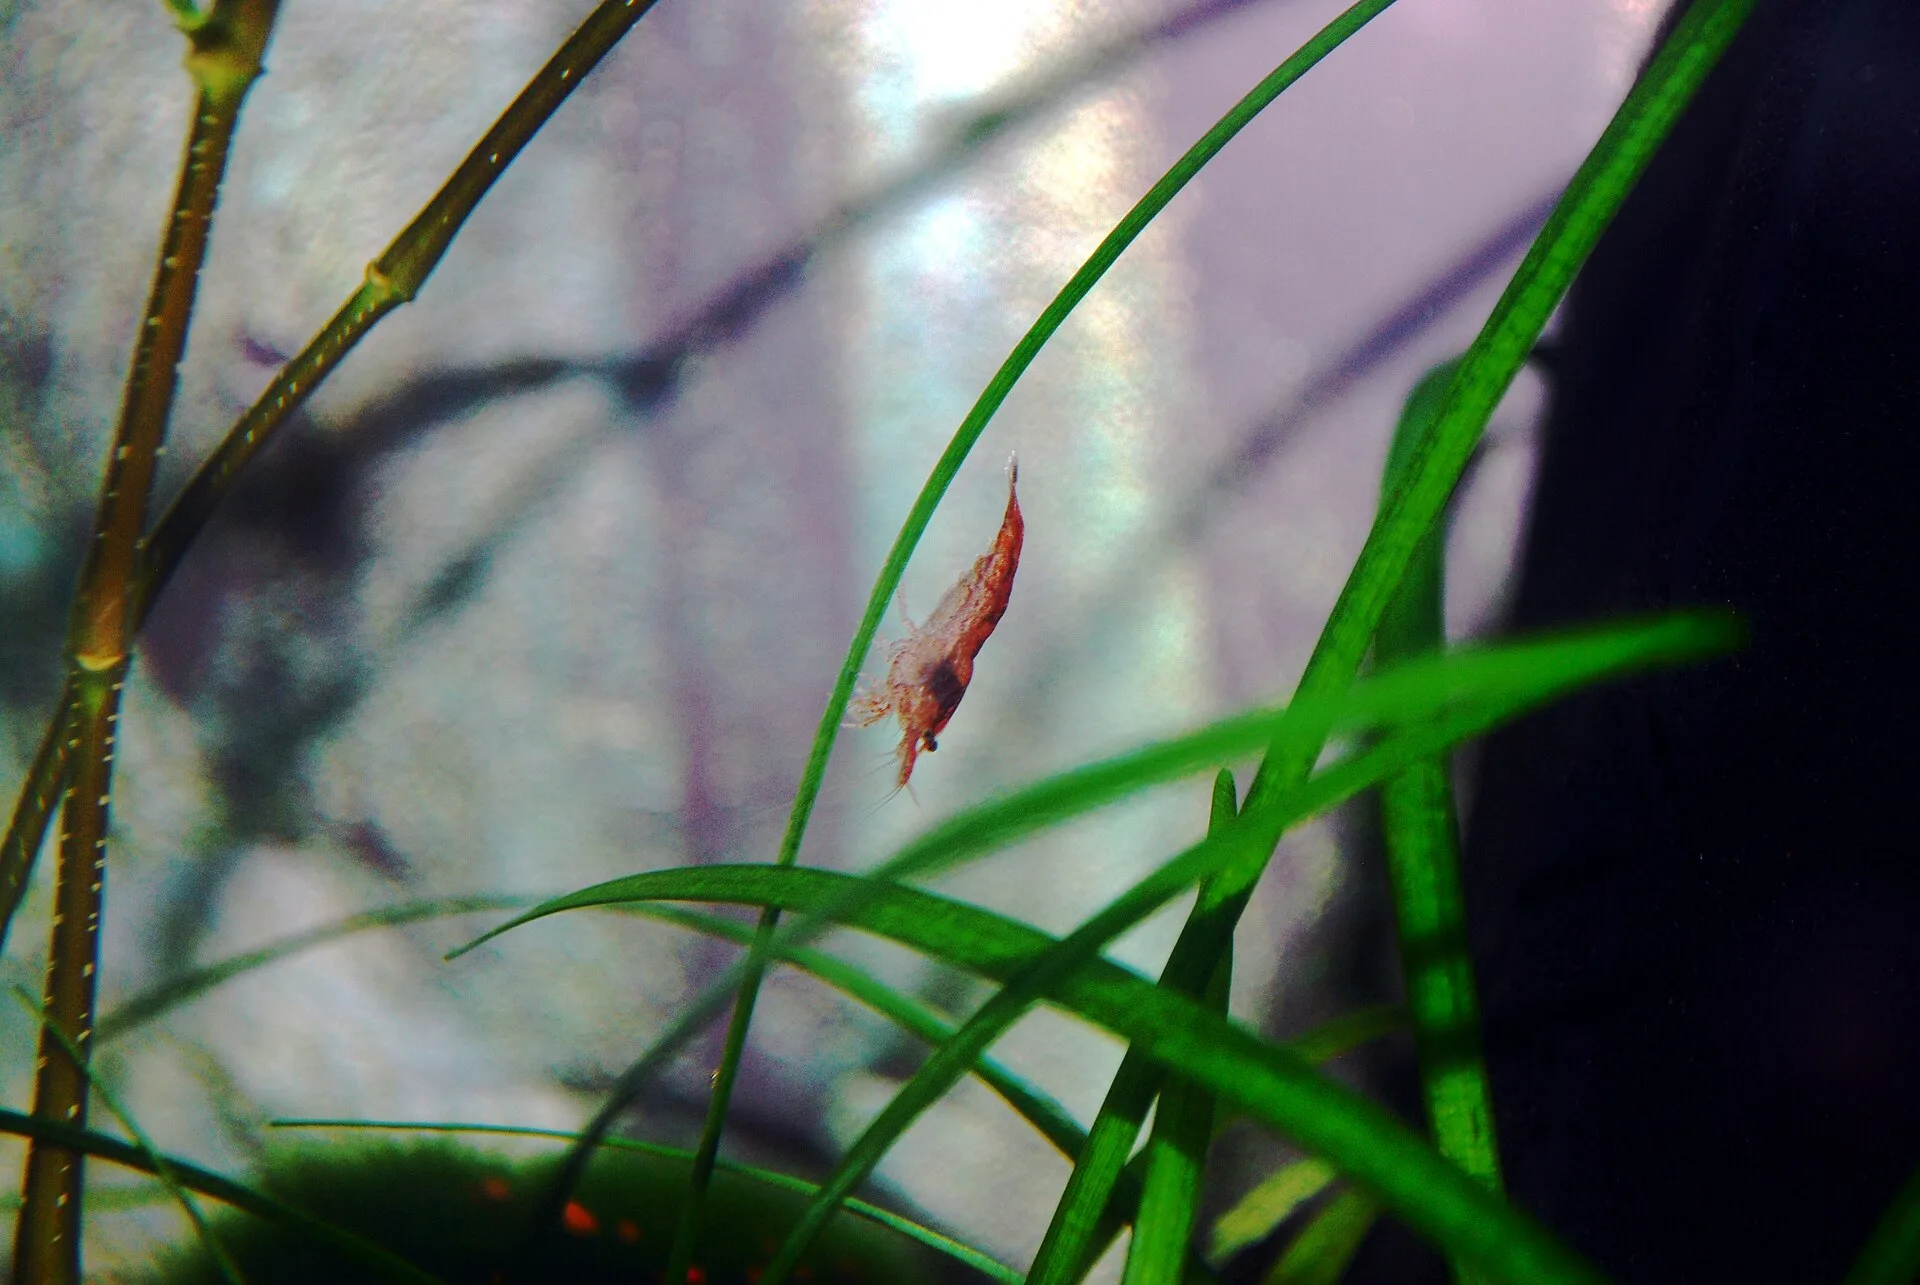 Never dump bag water into the display — pests and chemistry hitchhike. Photo: Michael Skiba / Wikimedia Commons (CC BY-SA 3.0)
Gear List
- Clean bucket dedicated to aquarium use
- Airline tubing + valve (or a tight knot to restrict flow)
- Airline tubing siphon from the display tank
- Thermometer and towel
- Net for transferring animals — leave bag water behind
Step-by-Step Method
- Dim lights. Float sealed bags briefly only to equalise temperature if needed.
- Open bags and pour fish/shrimp into a bucket (discard oxygen-depleted bag water if foul).
- Start a drip from the tank at roughly 2–4 drops per second.
- Continue until bucket volume roughly triples (often 45–90 minutes).
- Net animals into the tank or QT; discard drip water.
- Keep lights low and skip food for a few hours.
 Airline tubing and a control valve turn a bucket into a drip line. Photo: FishManHari / Wikimedia Commons (CC0)
Special Notes for Shrimp & Saltwater
Shrimp: Prefer slower drips and longer windows — GH swings crash colonies.
Marine fish: Match salinity carefully; drip into a clean container and never add store water to the reef.
Mistakes to Avoid
- Dumping bag water into the aquarium
- Rushing a 5-minute “drip” that barely changes chemistry
- Leaving livestock in an ammonia-laden bag for hours while you set up gear
- Acclimating into an uncycled quarantine with no bacteria
Related Reading
Conclusion
Drip acclimation is slow on purpose. Equalise temperature and chemistry, transfer the animals — not the bag water — and pair the process with quarantine when you can. Soft landings create strong livestock.


Explore other topics
Dive into more aquarium guides across the site.